
I’ve had a few embroidery enthusiasts ask for instructions on how to use Embroidery Editor, the program that comes with the Janome 500E. Here are the easy instructions for getting a design up and running.
The embroidery editor works very similarly to the machine’s onscreen editor.
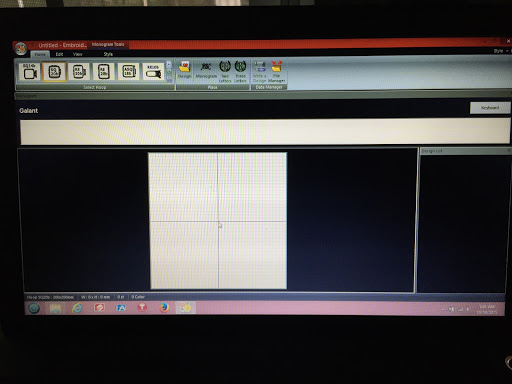
1. Open the Editor:
When you open the editor, Home View pops up. There you choose your hoop size by clicking on the picture of the hoop you wish to use.
2. Choose your design.
Next, you click the Design tab then design folder. All of the folders from your computer will pop up here. You can choose designs from your computer, or, you can choose from the built in designs on your machine.
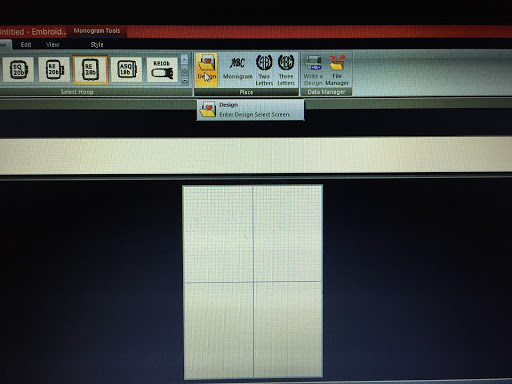
These designs will be found under the Design Folder tab. Choose Design Folder.
Favorite designs, and Petite designs, the same designs as are on your machine will be your choices.
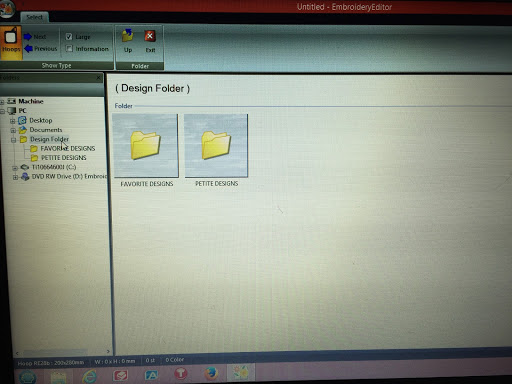
I chose Favorite Designs.
Next, I clicked the design I wished to work on, FAV_2_o.8.jef.
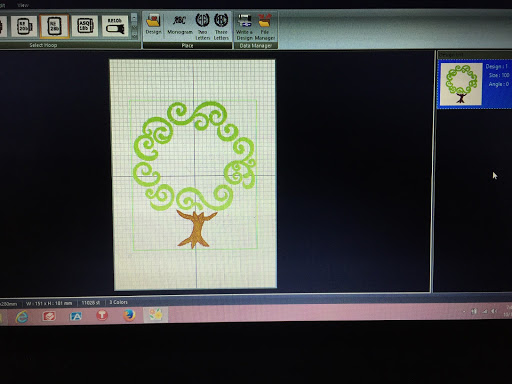
3. Add lettering
Once your design appears on the screen, click the monogram tab.
This will bring up your 14 different fonts. Choose a font, for example, Galant.
A window will open above your design.
In that blank space, type your lettering.
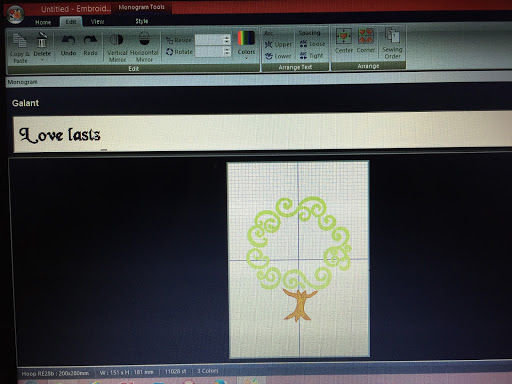
Click enter when you have finished typing.
The lettering will appear on the screen.
Move the box where you wish the letter to go. If you wish to play with the lettering, click on the Edit tab at the top of your screen.
Be certain that you choose the lettering in the design list. Once the lettering box is highlighted, choose Arc and Upper.
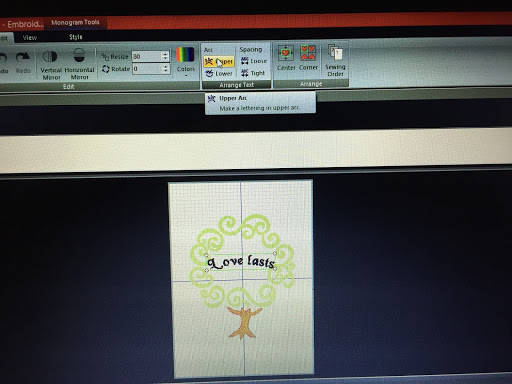
I love this arc!
4. Save to USB or machine
To save and send to machine, Click the Home tab at the top of your screen, choose Write a Design.
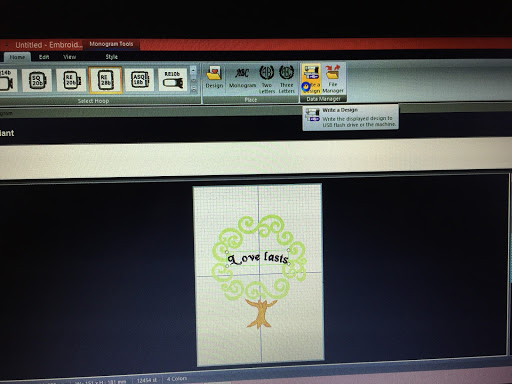
You will have to have a jump drive (USB drive) or the cable connected to your machine in order to save.
Choose rename your file, type in your chosen file name.
Choose the removable Disk if you are writing to a USB drive. Double click it to open the files. Now, choose the file you wish to save in. I saved in EMB then selected EMBF.
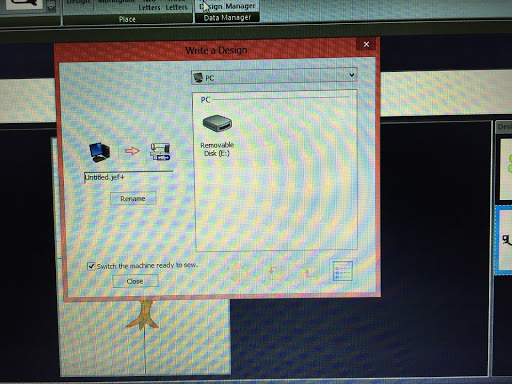
Click the arrow icon (shows a picture of computer, arrow and machine)
You have saved your design!
Hope this helps!

Is there any option to change from mm to inches? I did a search under help and not topics came up. Thank you.
LikeLike
I'm not sure, but I will check and get back with you tomorrow!!!
LikeLike
You can change between inch/mm in the Common Settings menu 😉
LikeLike