
In the Hoop Star Quilt
Paper Piecing with Large Hoop embroidery Machine
Supplies
large square hoop
Eight 7“ by 9” background fabric
Eight 51/2” by 7 ½ “ background fabric
Eight 11” by 4” star fabric
Four 11” by 4” single star point fabric
Piecedstar embroidery file
Four 14” by 14” square white muslin
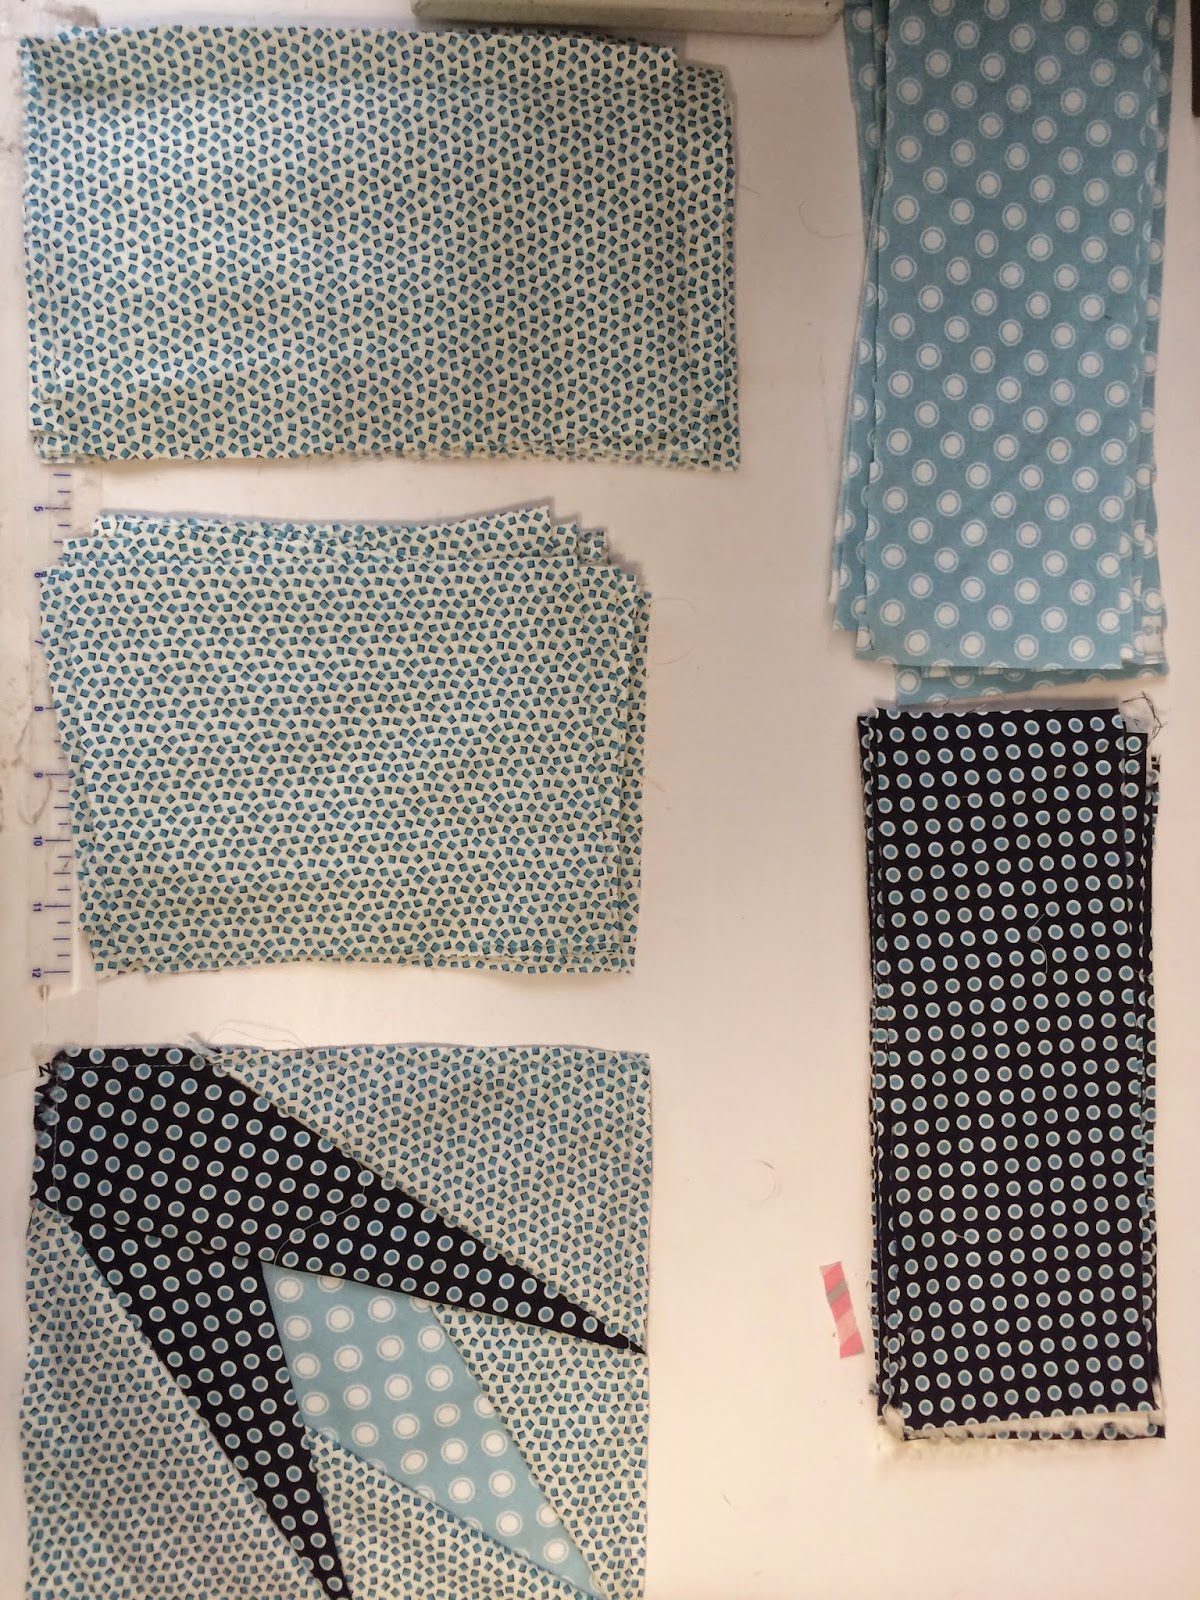
Cut Fabric
Cut fabric and make four piles, one for each size
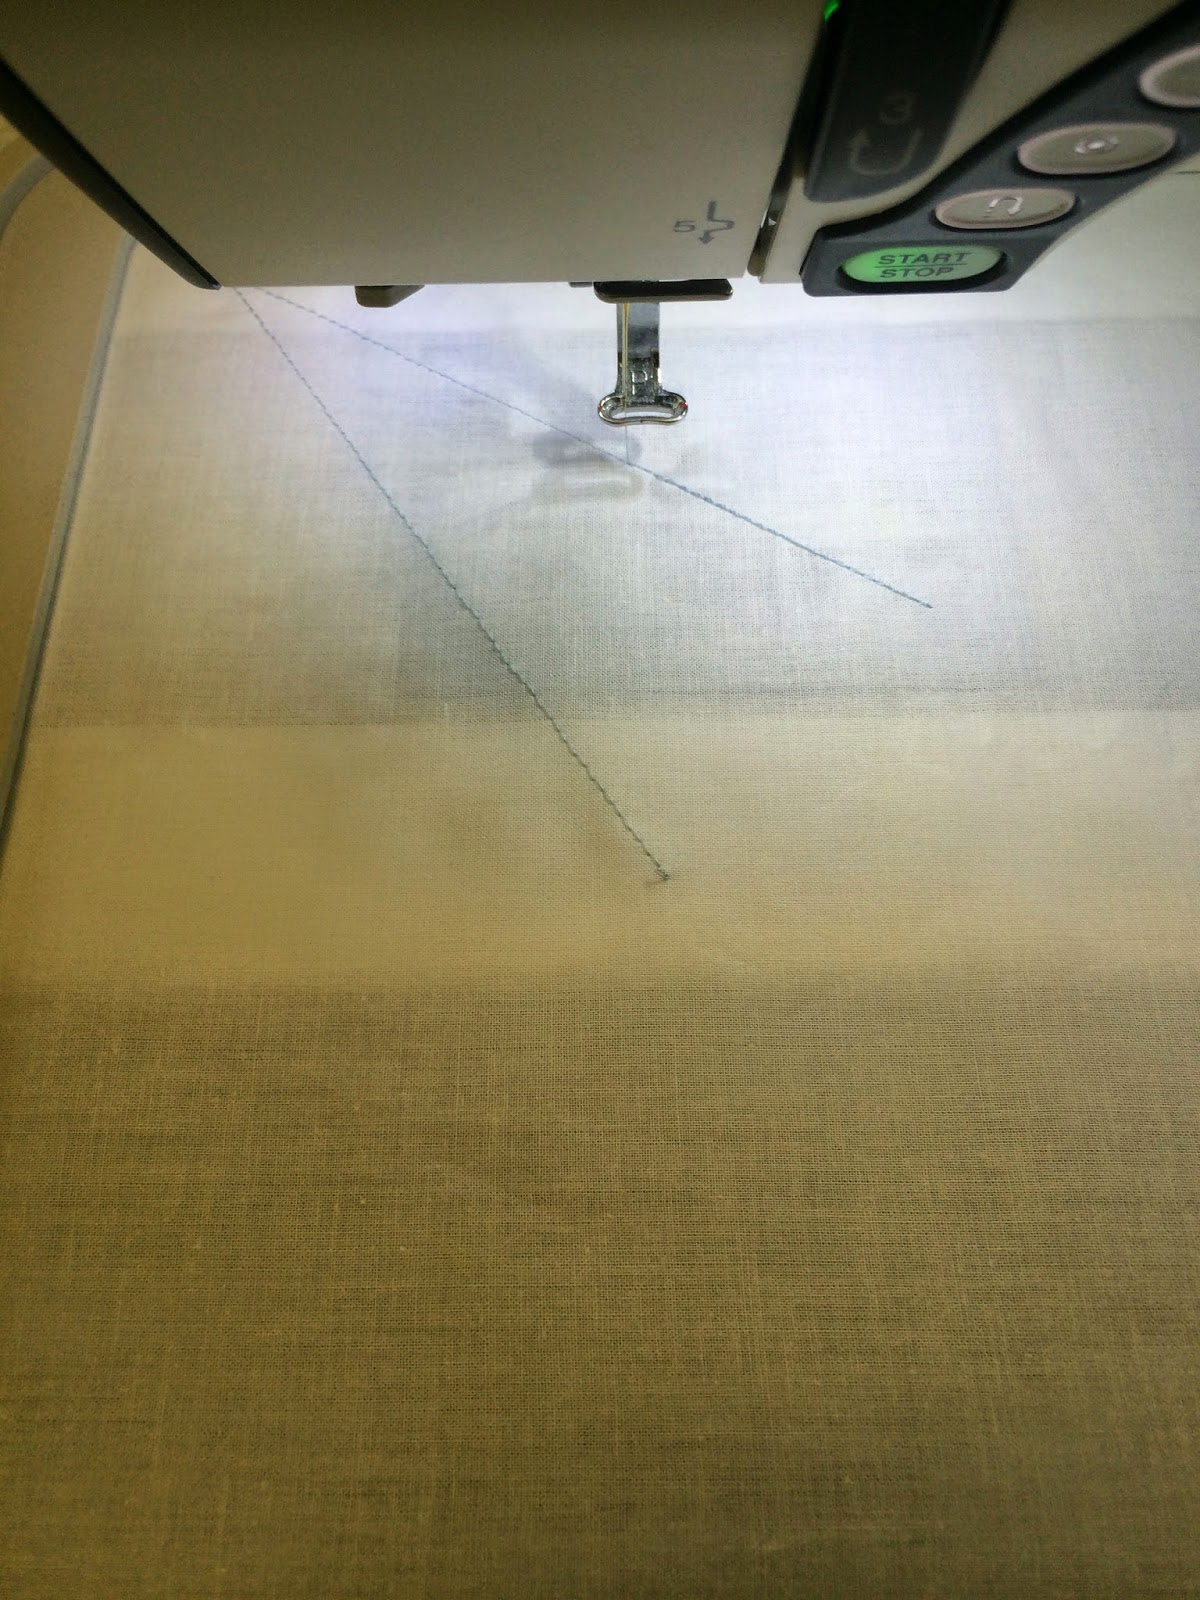
Step 1:
Hoop muslin
Sew out color 1, placement lines for single star point
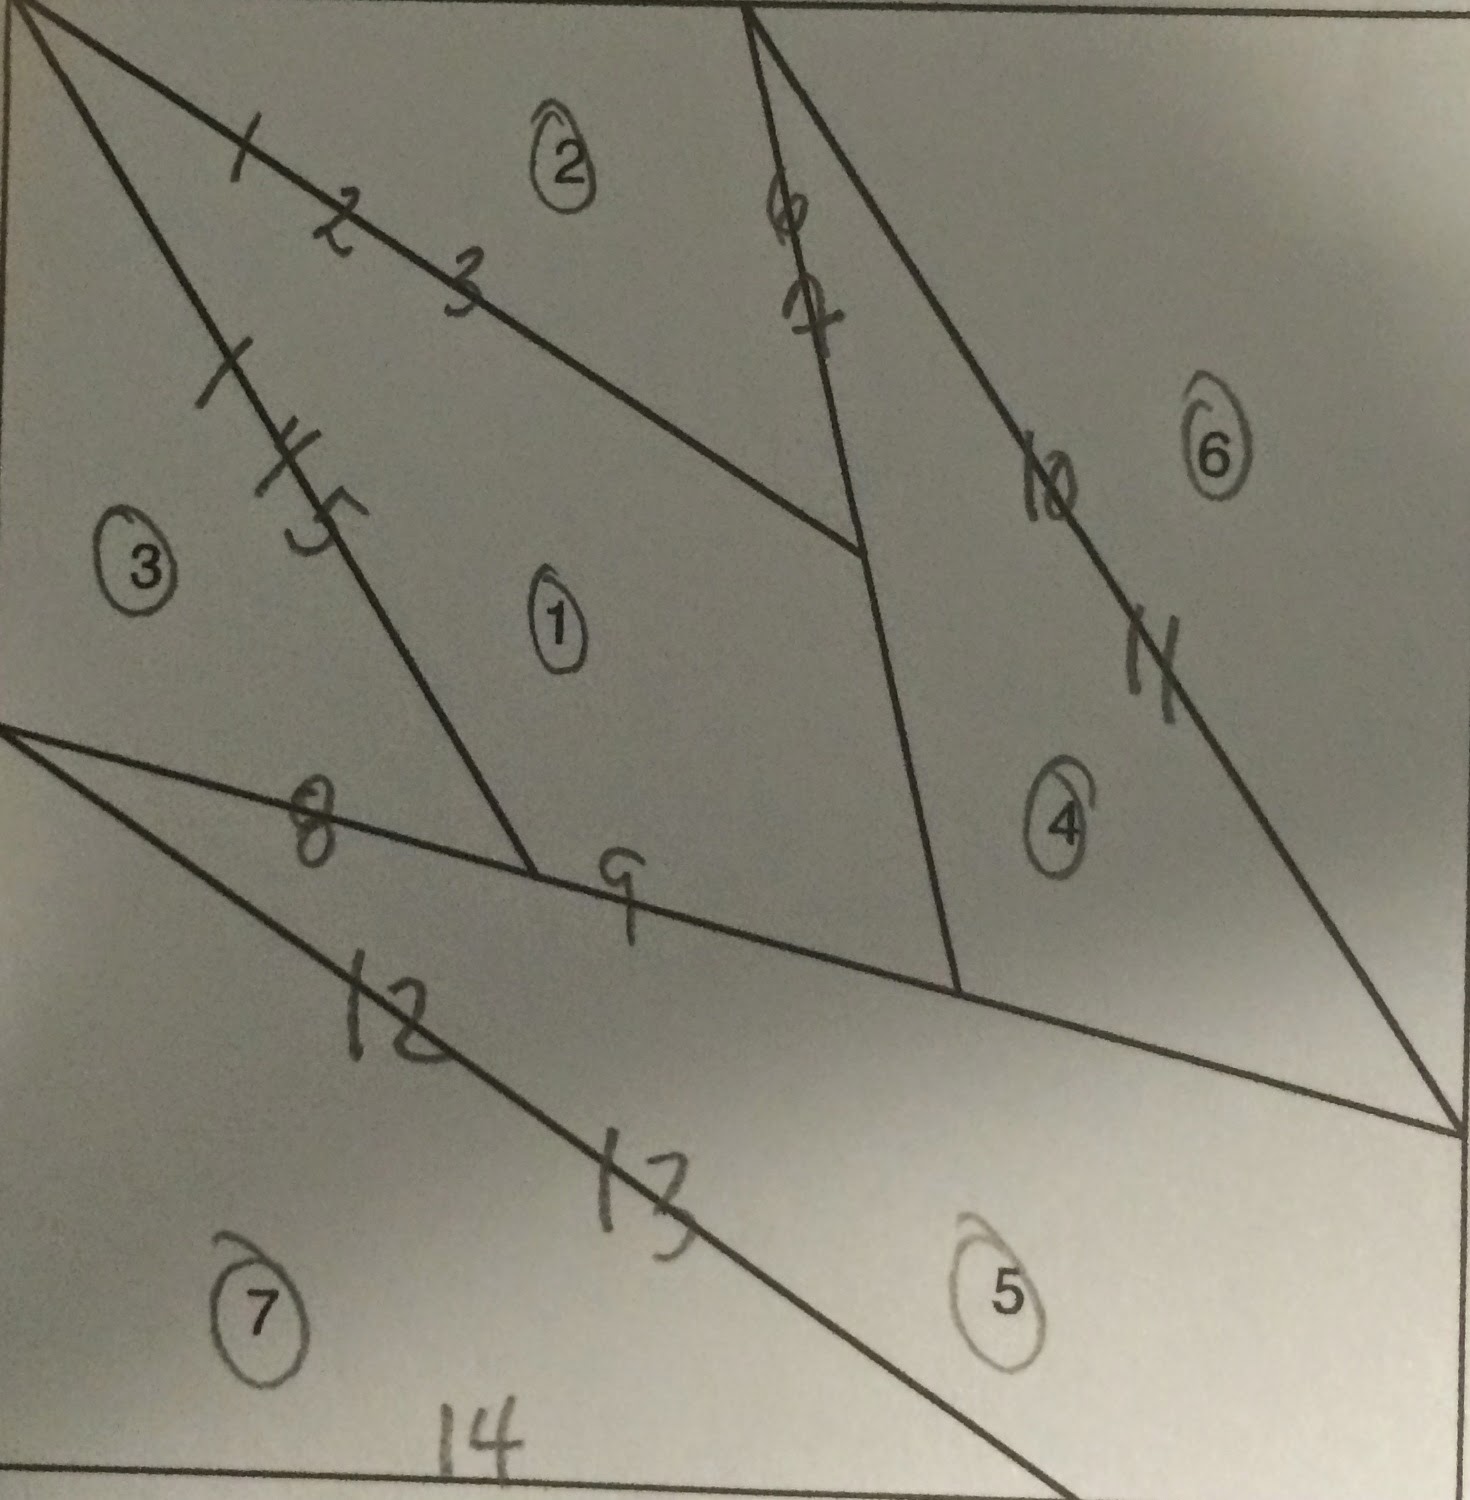 |
| Circled numbers indicate fabric number. All other numbers indicate stitching lines |
Place single star point fabric atop placement lines
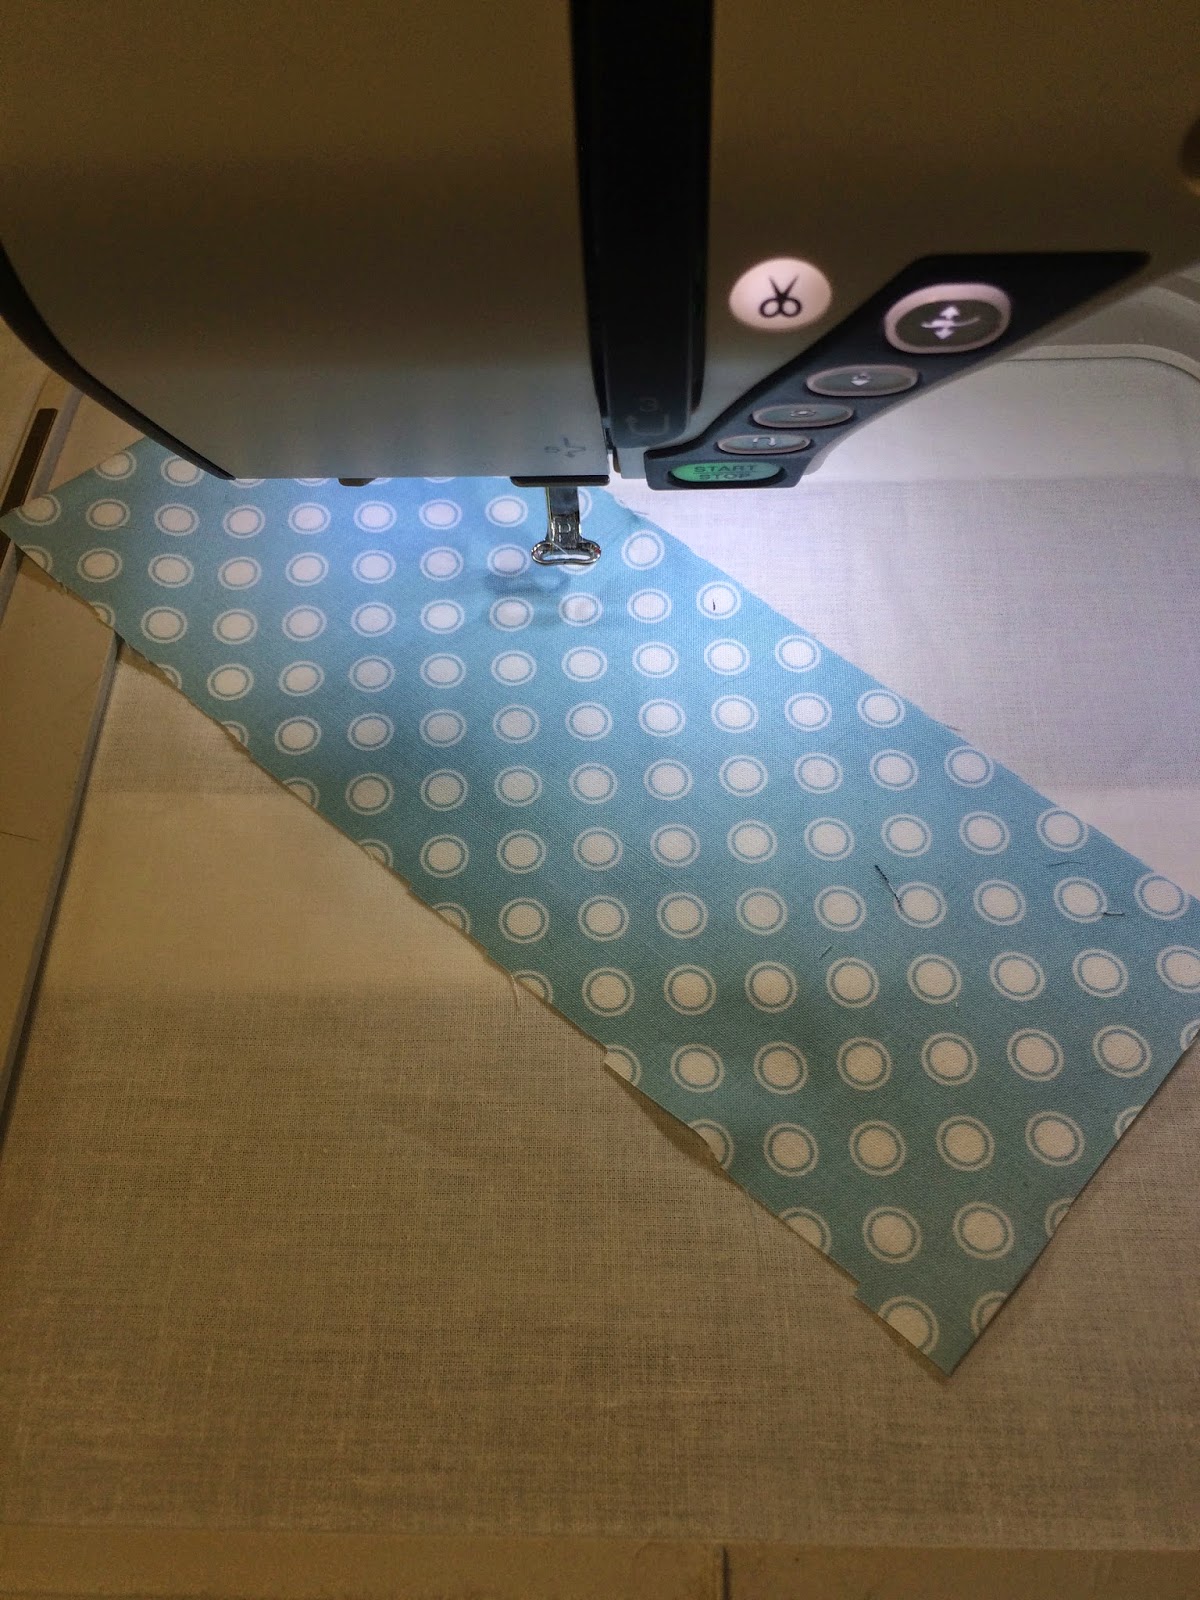
Step 2
Sew color 2, placement line for fabric 2
Place fabric 2 face down on placement line
Step 3
Sew color 3, sew down line for fabric 2
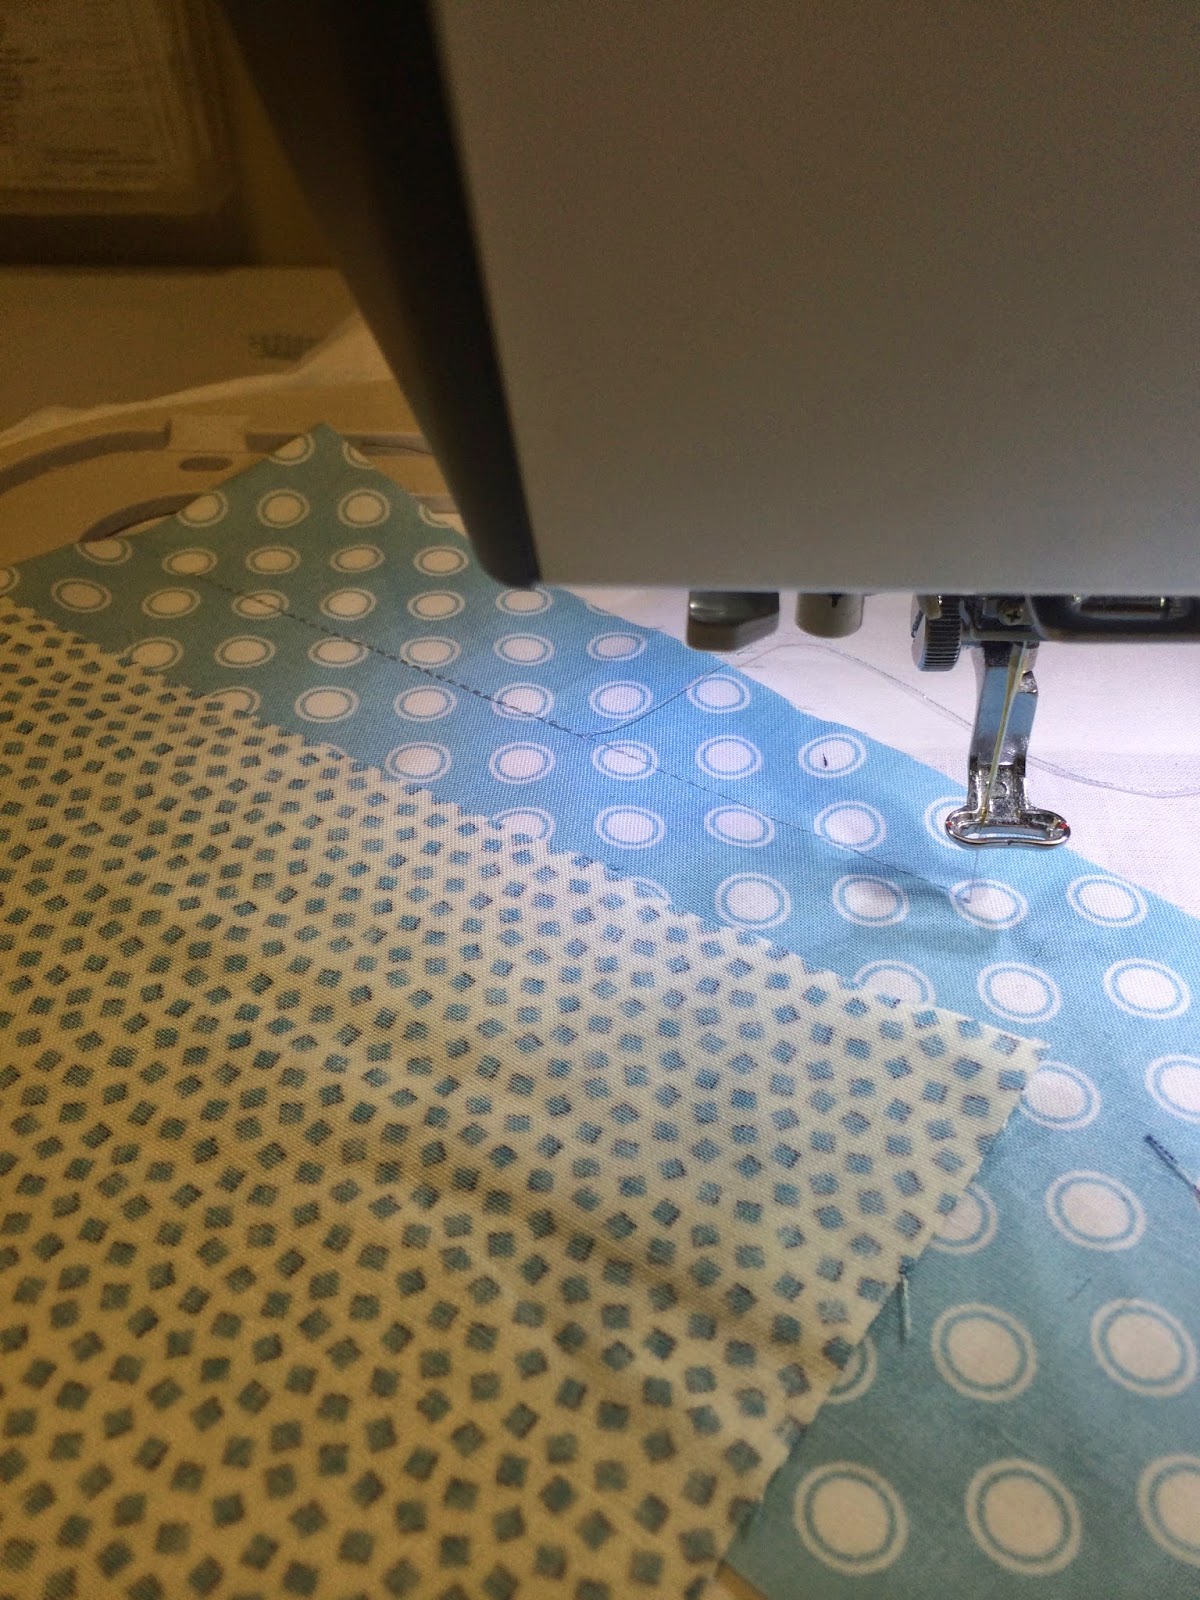
Step 4
Fold back fabric 2

Sew color 4, placement line for fabric 3
Place fabric 3 face down on placement
line
Step 5
Sew Color 5, sew down line for fabric 3
Fold back fabric 3
Step 6
Sew color 6, placement line for fabric 4
Place fabric 4 face down on placement line
Step 7
Sew color 7, sew down line for fabric 4
Fold fabric 4 back and finger press
Step 8
Sew color 8, placement line for fabric 5
Place fabric 5 face down on placement line
Step 9
Sew color 9, sew down line for fabric 5
Fold fabric 5 back and finger press

Step 10
Sew color 10, placement line for fabric 6
Place fabric 6 face down on placement line
Step 11
Sew color 11, sew down line for fabric 6
Fold fabric 6 back and finger press
Step 12
Sew color 12, placement line for fabric 7
Place fabric 7 face down on placement line
Step 13
Sew color 13, sew down for fabric 7
Fold back fabric 7
Step 14
Sew color 14, outline for paper pieced square
Sew 4 identical squares
Pin squares together and sew, matching outline. Sew ¼” inside outline

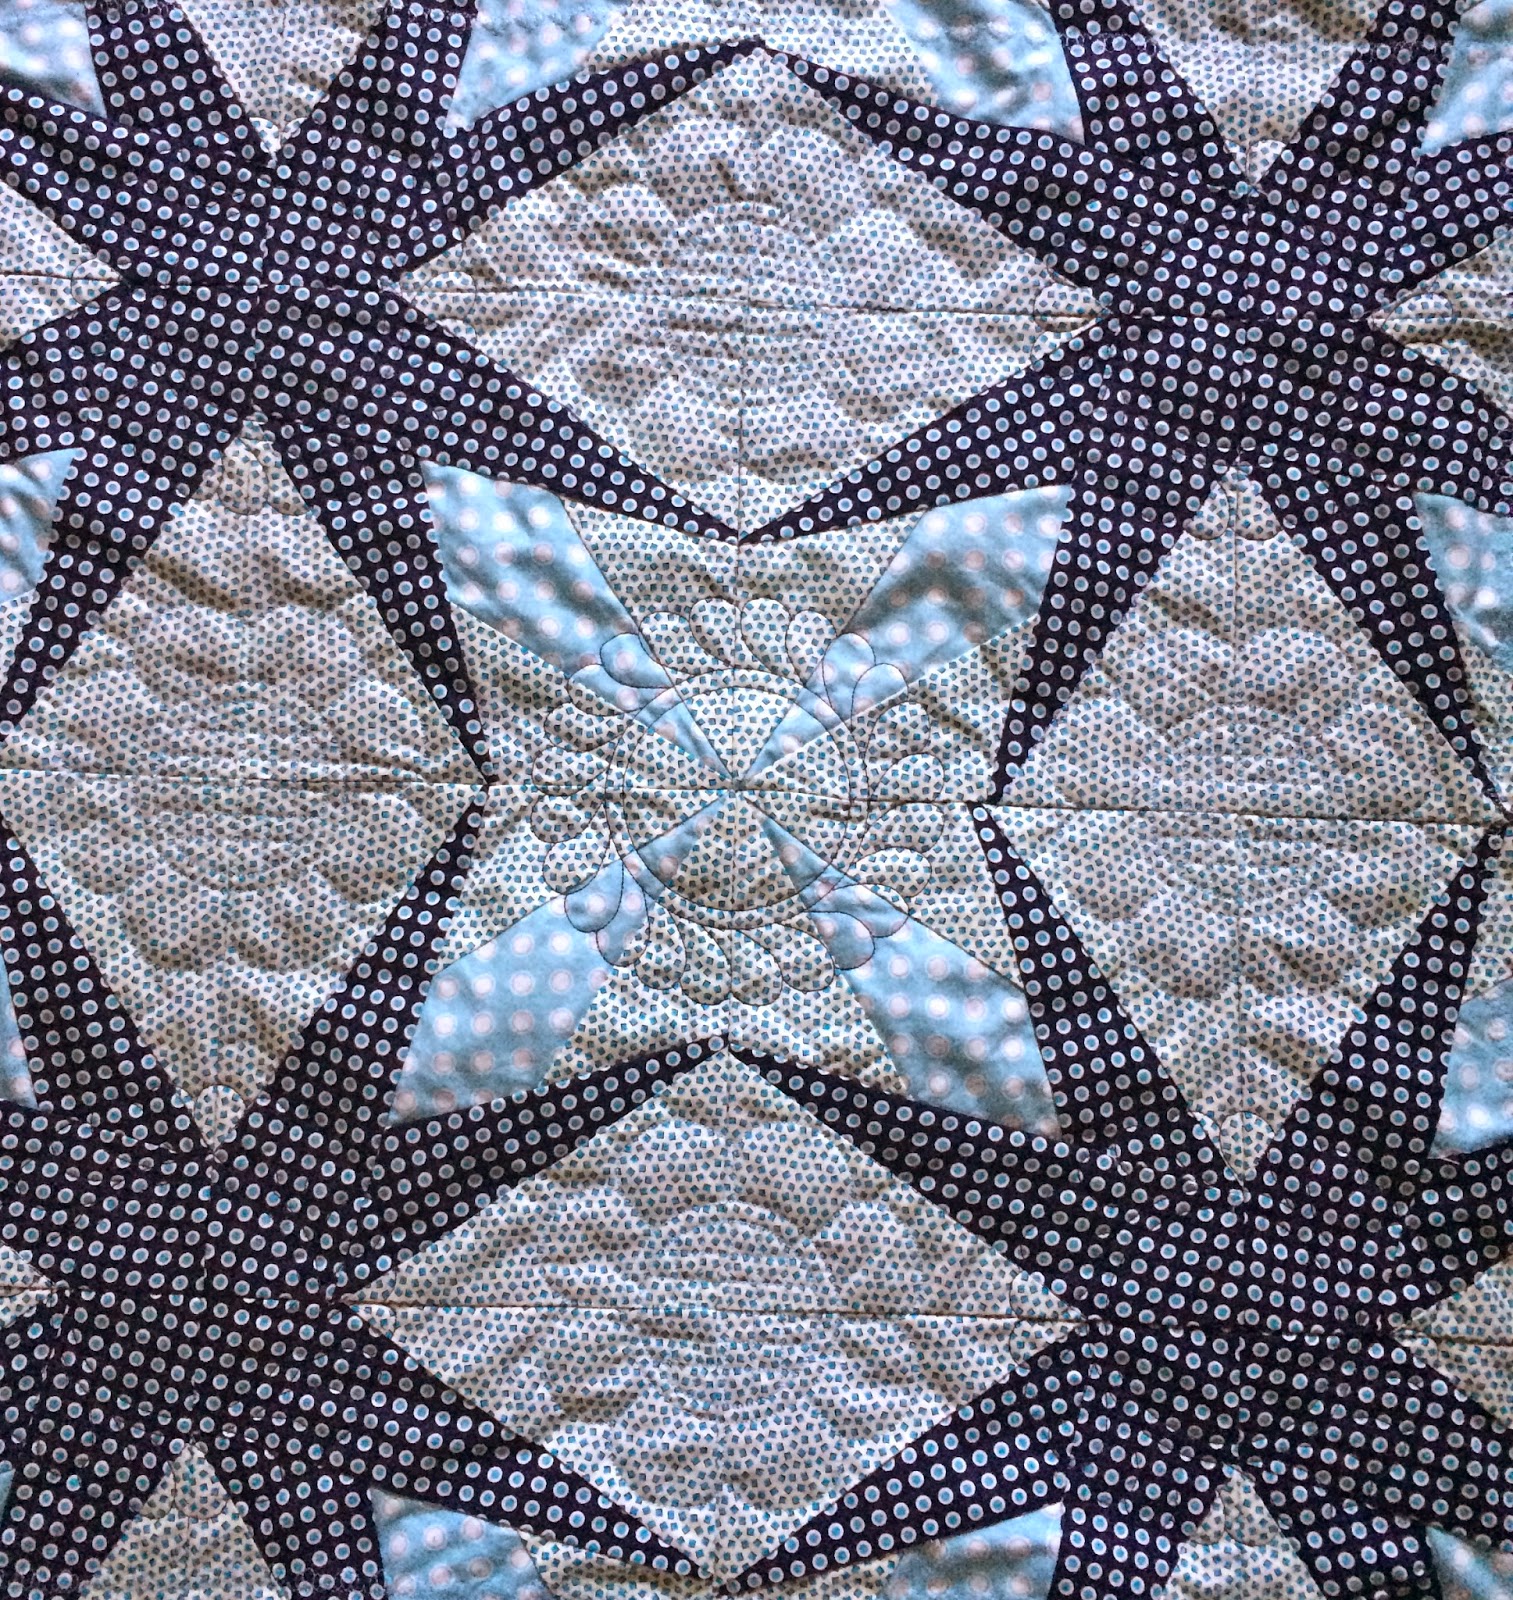
Completed Star
Sew stars together
To make a 36” by 36” baby quilt, sew two stars together, and then join them so that you have four stars , two on top, and two below.
Press seams in opposite directions
to reduce bulk
Press quilt top
To create self-binding: Step 1
Cut a piece of flannel 10” larger than your quilt.
For example, this quilt top is 36” by 36”
I cut my flannel backing 46” by 46”
To create self-binding: Step 2
Follow this excellent video guide to the self-binding process by Missouri Quilt Company
http://www.youtube.com/watch?v=lqwdNqMZ8Ro
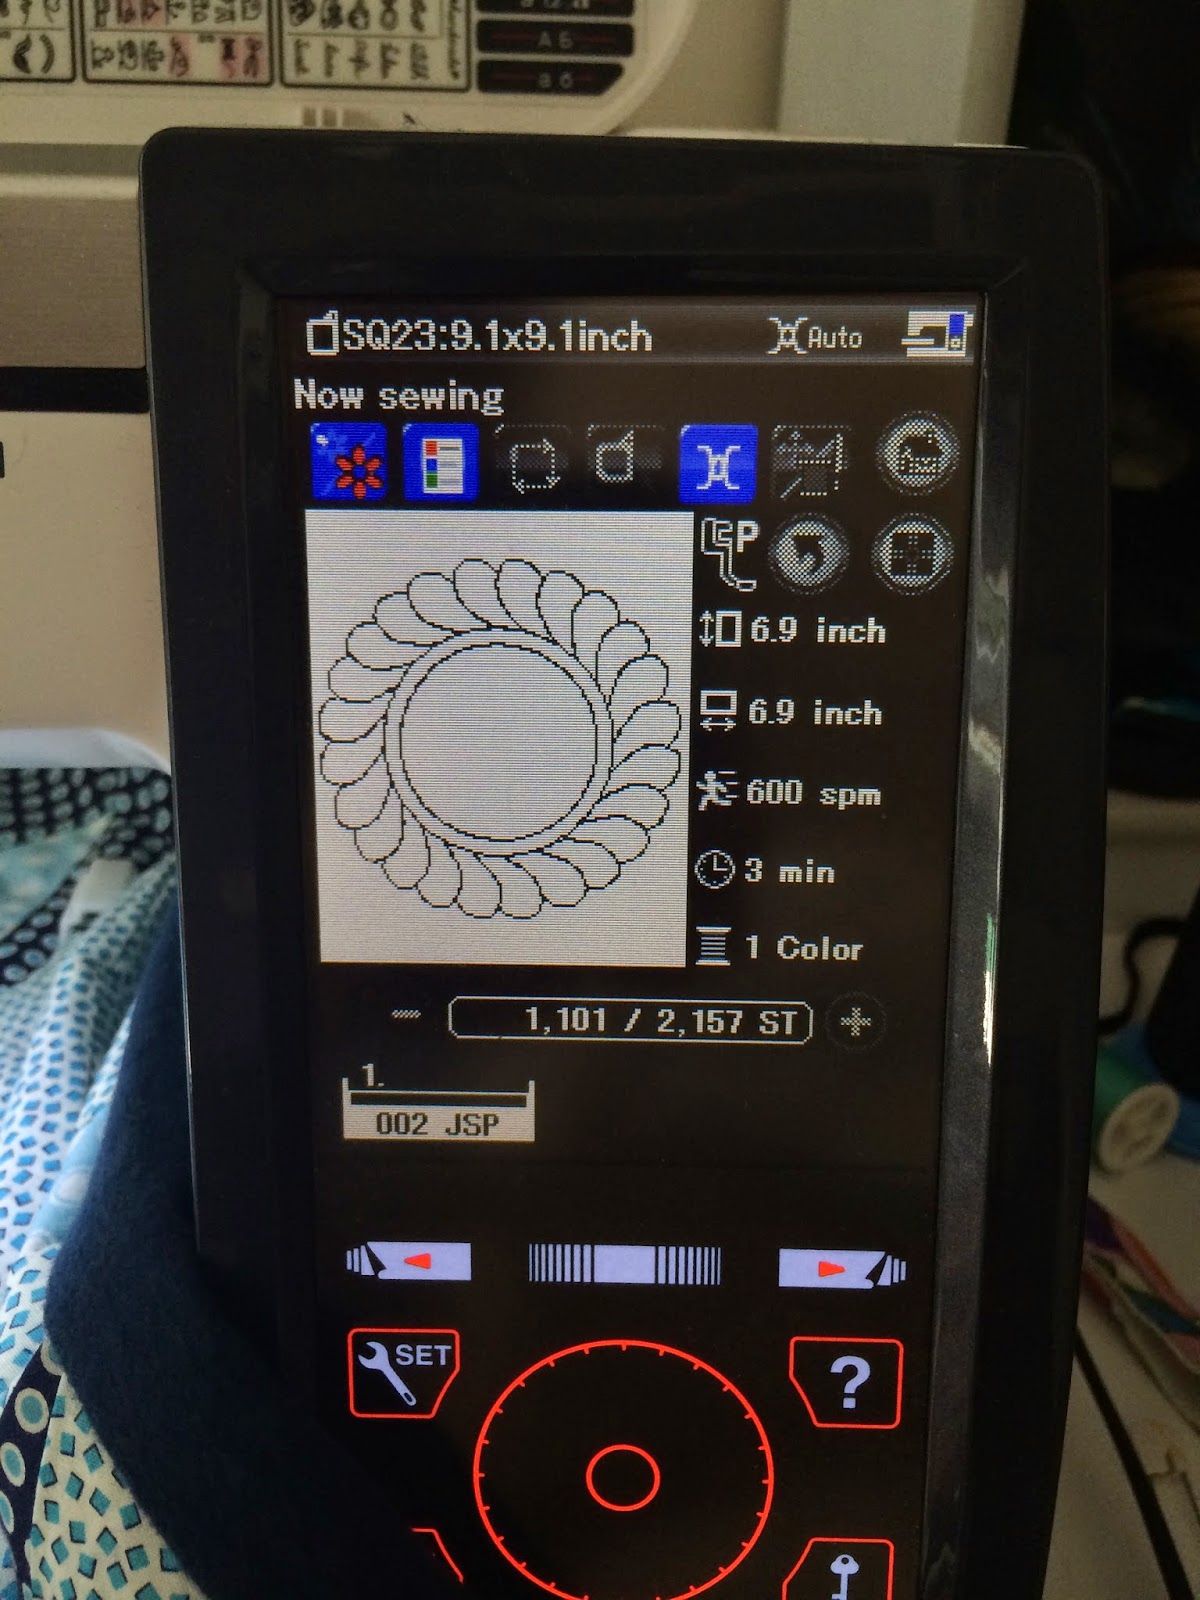
Ready to quilt!
Using your large square hoop and magnetic clips, hoop the center section of your quilt. Choose the quilt design of your choice, and press start!
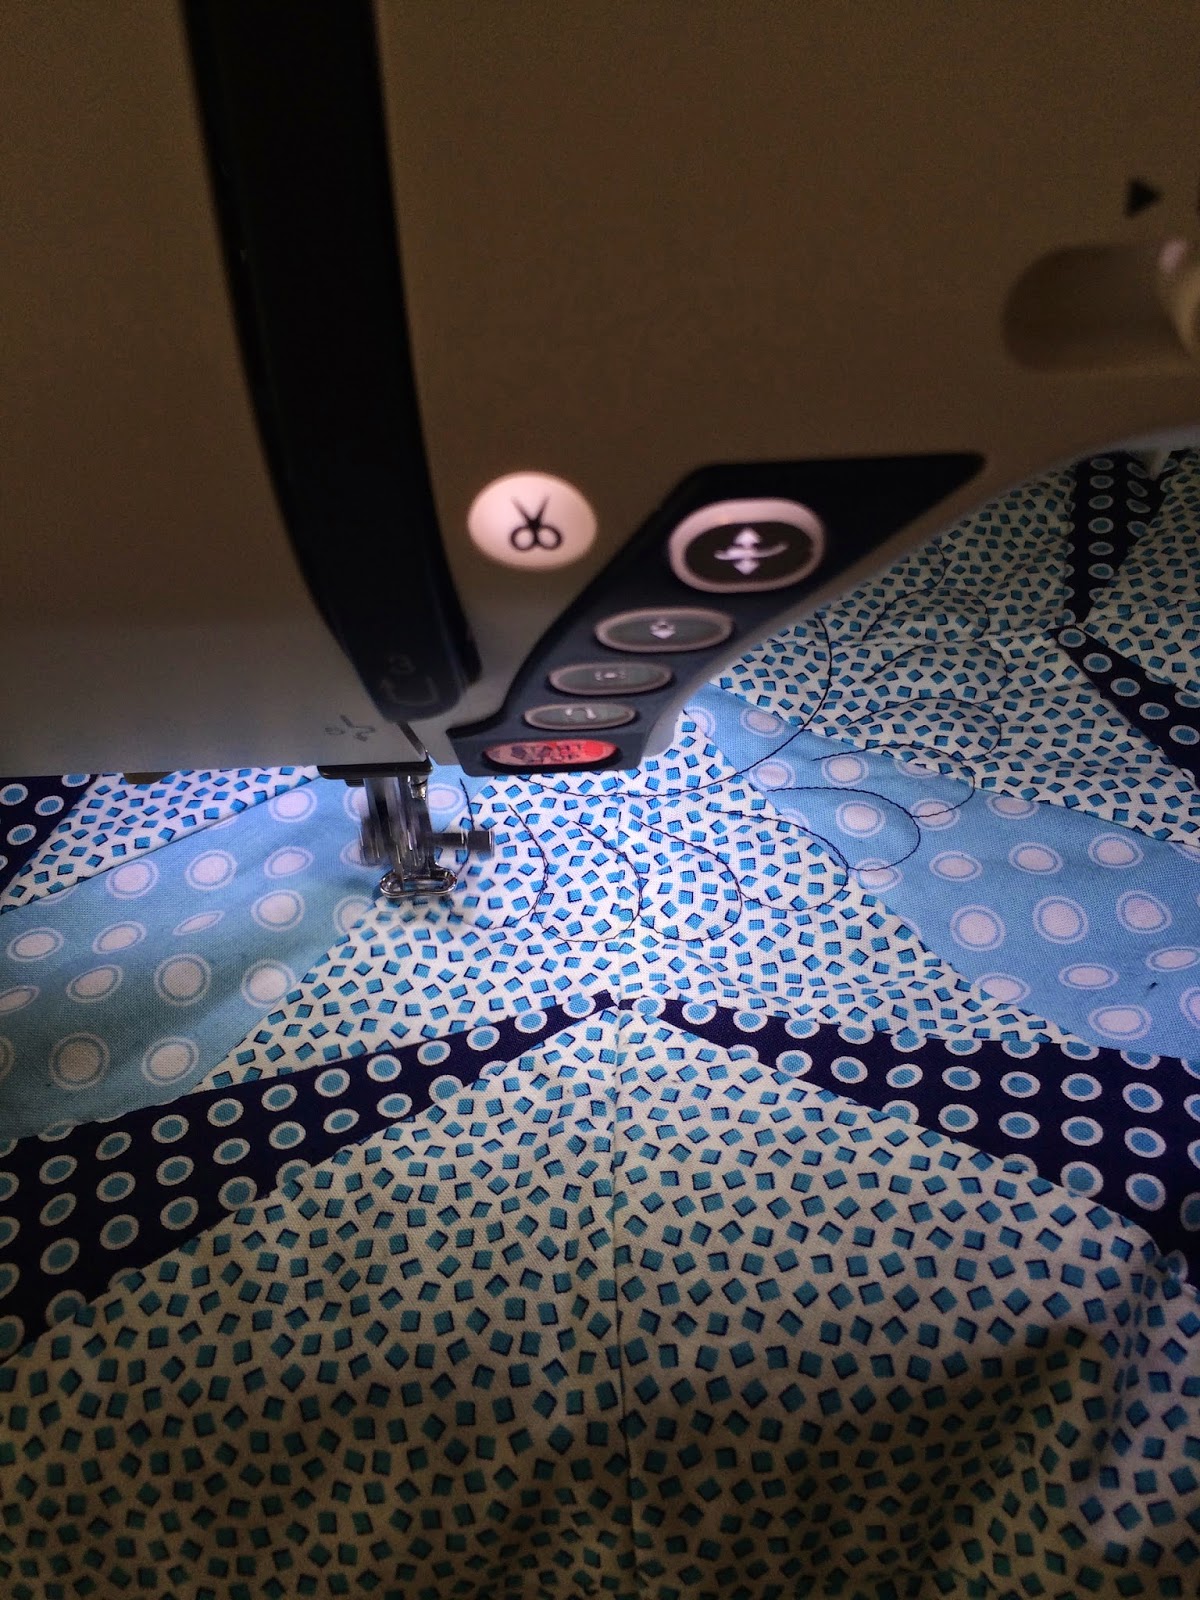
Quilt as many sections as you wish
Experiment with some of the many designs available on your Embroidery Machine!

