

Supplies:
Zipper (your choice of sizes, depending on how small or large you want your bag to be. For this project, I chose a 9” zipper.)
2 squares or rectangles of lining fabric, and 2 squares or rectangles of outer fabric (a total of 4) the length of your zipper and the width you choose. (I chose 7 ½” by 9 ½”)
Sew:
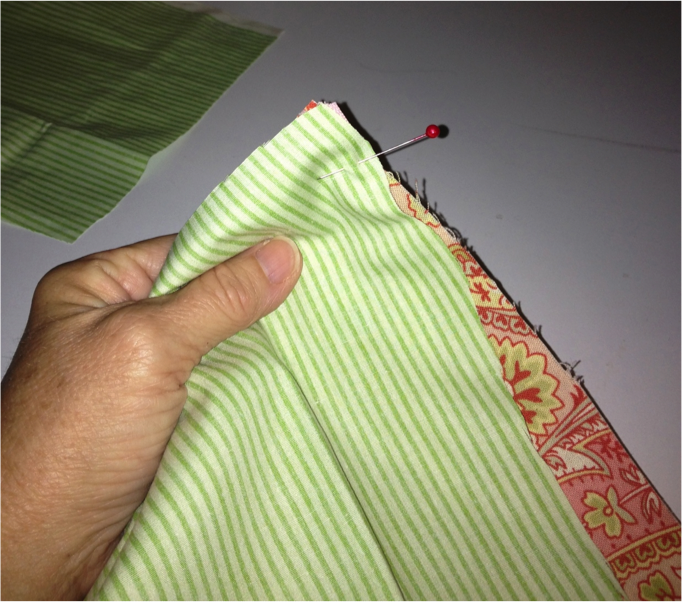
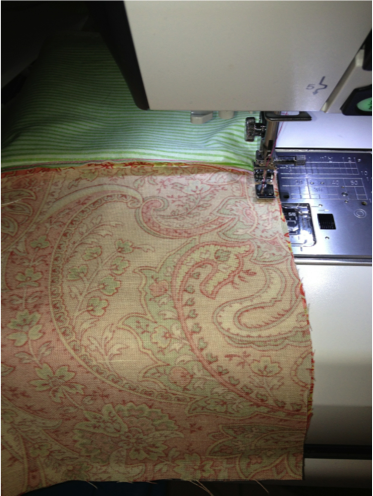
Sandwich zipper at the top and in between lining fabric and outer fabric by laying zipper face down on outer fabric, and placing lining fabric at the top of the sandwich like this:

Pin layers together being certain the outer fabric, lining and zipper all line up at the top edge:
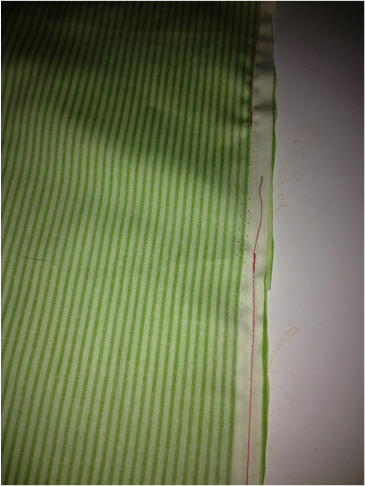
Using the zipper foot, sew a straight line close to the edge. Allow the edge of the zipper foot to move along the edge of the zipper ridge.
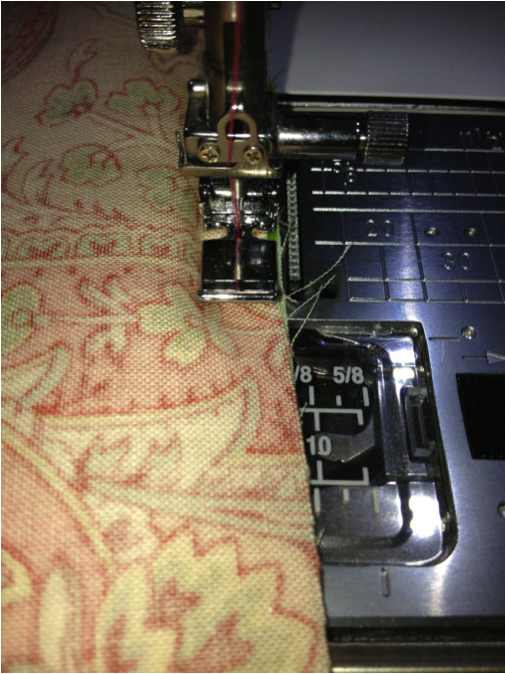
Check your stitches to make certain they were sewn straight.


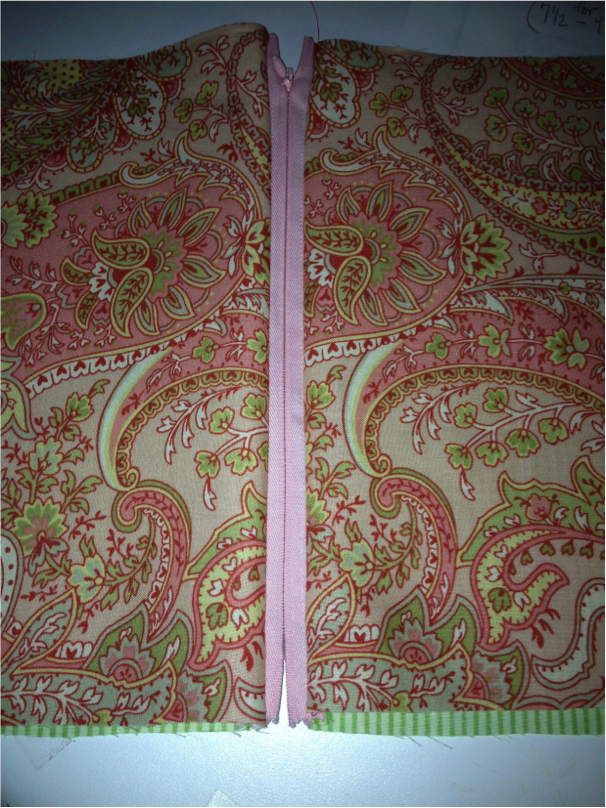
Repeat steps 1 and 2 on the other side of the zipper. Sandwich zipper tape between fabric lining and fabric front, right sides facing one another, being certain the outer fabric is on the outside.
Carefully sew close to the top of the fabric allowing your zipper foot to move along the edge of the zipper ridge
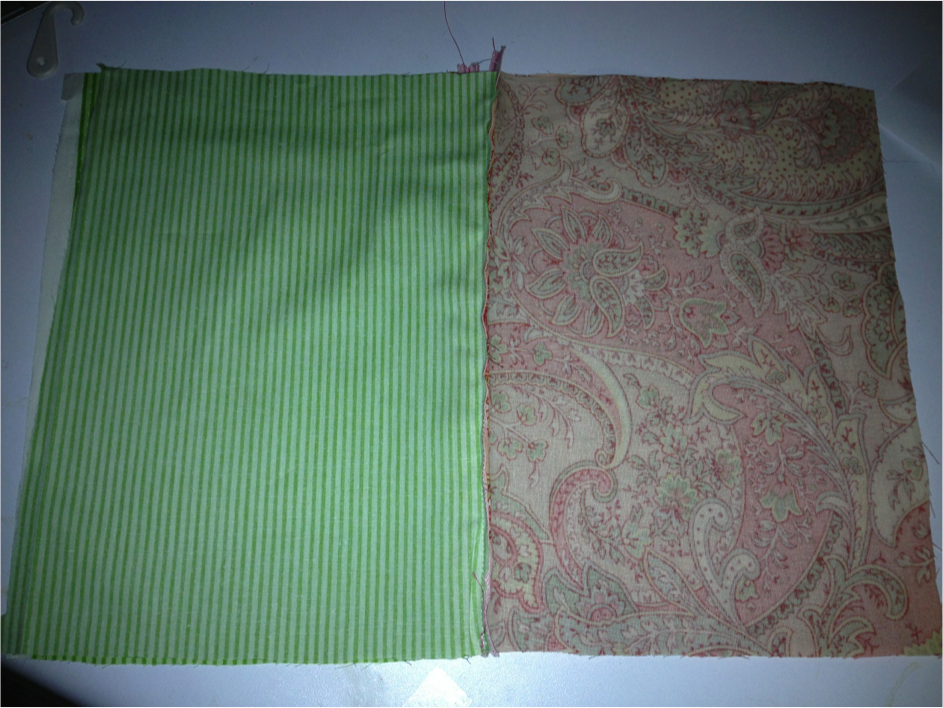
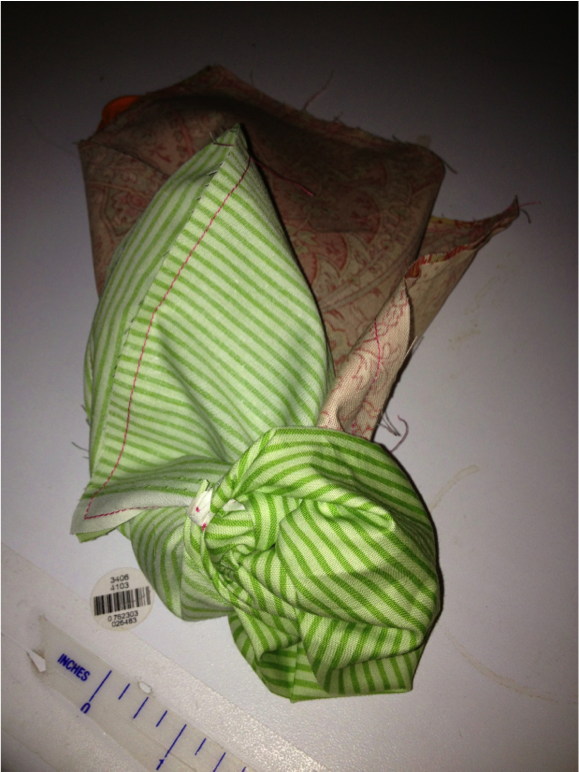
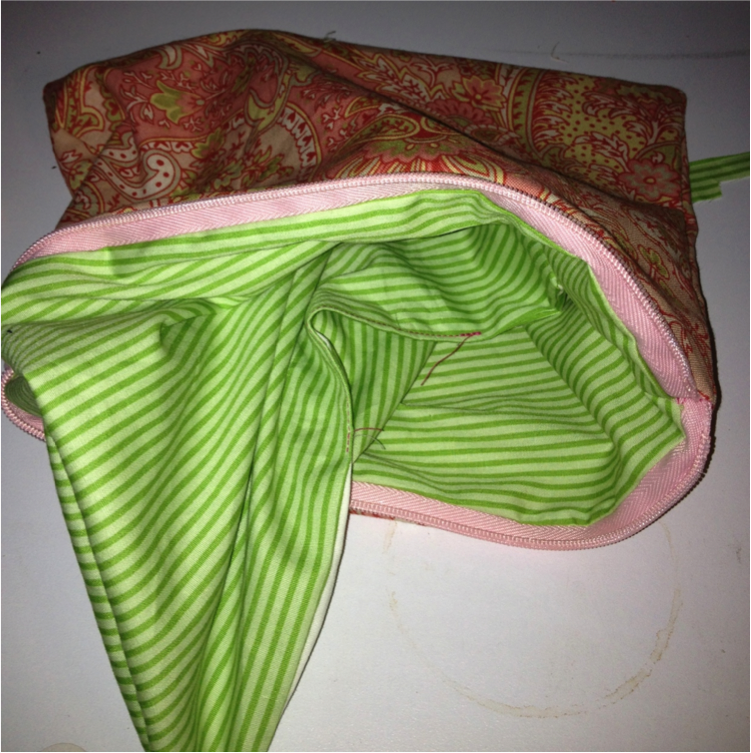
Open out your bag, and unzip the zipper
Place outside fabric right sides together, and bag lining fabric right sides together.
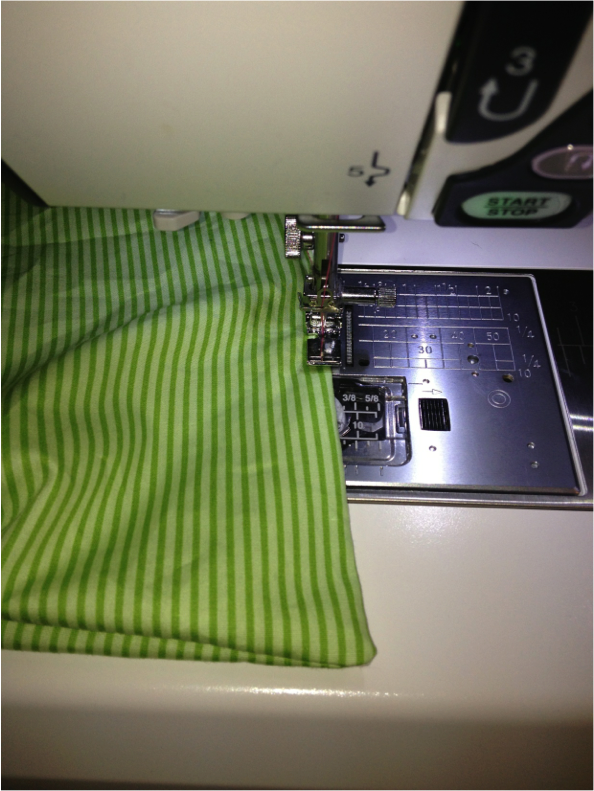
Sew around the entire outside rectangle of the bag Note: as you sew, be certain the zipper–with zipper tape right sides together– is facing down and into the lining.
Be certain to leave an opening in the lining bottom for turning.
Turn the bag right side out through the hole you’ve left open for turning.
Sew the hole in the lining closed
Turn the lining inside the bag.

Enjoy your new bag!
 |
| Today’s Gulf View |
